
 |
| Cora Ginsburg & DAR Dresses |
Analysis of the Dresses
Bodice:
Both the Cora Ginsburg and the DAR Museum dresses appear to be back fastening (there is no obvious opening on either fronts). The DAR Museum dress has a centre front seam, which may be an opening, but that would seem unusual for the time period, leading me to believe it's either intentional construction (e.g. for maternity/postpartum) or an adjustment. The round neckline appears to be hemmed all the way up indicating a probable back fastening, as the bodice construction suggests that a front opening would not open wide enough to be put on with a fixed band at the high waist. The neckline is gently scooped and not completely square.
The decorations on the Ginsburg bodice would seem to preclude a front fastening, and the shoulders don't appear to have a bib front either. Unfortunately I've not got access to an unobscured back view of either dress to be sure exactly how either was fastened. I adore the "woven" appearance of the front decoration on the Ginsburg bodice, but I suspect that the DAR Museum dress bodice will be more sensible to make as a first attempt Regency dress. The woven effect, to me, seems to simulate the crossed over bodices that were also around at this time. This bodice's neckline is squared off, with straight lines across the breasts and over the shoulders, and with clearly defined corners to the line.
Sleeves:
Both dresses have long sleeves, but with differences in the decoration at the shoulders and cuffs. The DAR dress has capped shoulders with the banded decoration to reflect the hems and cuffs, and then a long and fairly loose sleeve ending in a slight gathering before the cuff decorations. The Ginsburg dress has the more common puffed shoulder ending in a bad around the upper bicep, and then extends out into the long sleeve. The sleeves on this dress are not as straight at the DAR ones, but do appear to have more fabric in them. They are gathered into the top band, then remain reasonably loose until mod forearm at which point they are gathered in tight with a decorative band that is a couple of inches wide. The cuffs then puff back out and continue to approximately the middle joint of the thumb.
Due to the more conservative style preferred in the newly independent United States, the necklines are relatively high compared to European fashions for the same style of dress. Both dresses have a more defined bodice space than would have been seen a few years earlier, presaging the silhouette of the 1830s.
Skirts and hemline
Both dresses are placed on mannequins to show a hemline that is just short of trailing on the floor, and neither has any evidence of a train. Both dresses are straight down from the high waists, projecting gently outwards to a width a few inches wider than the natural shoulders.
The decoration on the DAR dress continues about a foot up the dress from the hem, whereas that on the Ginsburg dress only covers about half that height. The Ginsburg decoration is more fancy, but the contrasting colouration
Possible patterns
There are a number of excellent patterns out there for Regency dresses, as well as guides and diagrams for DIY or draped variants. I'm certainly not experienced enough to drape, and I prefer the comfort of having a pattern, even if I often only follow them broadly. A non exhaustive list of pattern companies (in no particular order) includes: Black Snail, Laughing Moon, Sense & Sensibility, Folkwear, and Nehelenia. I've not linked to any of these as the best value vendors for any may vary depending on where you are based and which currency you are using, however many use Etsy or have resellers on there, so that may be a good starting place to look.
My shortlist is based on patterns which appear to be close to the design of the two dresses I have been talking about in detail in this post and the previous one. I knew that finding an exact pattern for either dress was likely to be impossible, so I took what I decided were the key features of both, and focused on those when searching for the most appropriate pattern for me. The key features I decided on were:
- Back fastening
- A simple neckline, either squared off, or more rounded
- Not too high a waistline, and one that was in the cut of the pattern (not defined by a belt only)
- The plain flat front of the DAR Museum dress
- A (high) waist seam as part of the dress
- The puff-band shoulder on the Ginsburg dress
- Long sleeves that are not tight.
By looking for a back fastening dress, I had to rule out a number of earlier Regency patterns (logically), as the earlier period was better known for the bib fronts to dresses. Some earlier patterns were also ruled out because the bodice shaping was less defined by the cut and more by the belt/overdress. Relatively few patterns had long sleeves, instead going for the short sleeves more suited to hotter climates than an autumnal England! I also wanted that shoulder interest that is in both of my inspiration dresses, so no patterns where the sleeve falls straight from the armscye.
That left me with two patterns! Laughing Moon #138 & Sense & Sensibility "Regency Gown". Technically there is a third, from Fig Leaf, but I found that one after I had completed my purchases.
Laughing Moon #138


None of the views on this pattern have the very square neckline shown on the Ginsburg dress but are quite similar to the DAR Museum dress' neckline. The shape of the skirts on all views look appropriate to either of my inspiration dresses.The short-sleeve over long sleeved variant is very reminiscent of the Ginsburg shoulders and sleeves, although a bit too baggy. The way they are made, however indicates that adapting the pattern to have a smoother sleeve could work well.
Sense & Sensibility Regency Dress
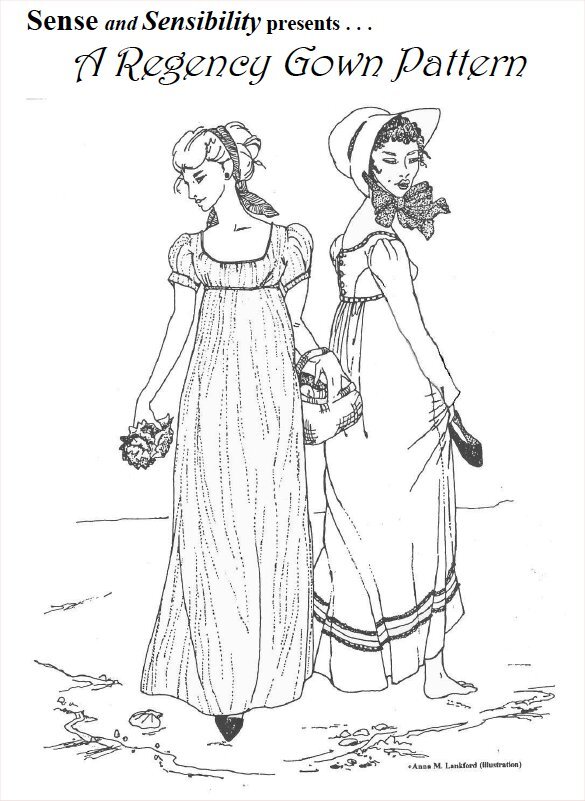
This is the original source of one of the Simplicity patterns, which was licensed from the creator of this one. In my opinion, this is better than the mass market variant because it is more accurate. For my purposes, it is possibly slightly earlier in style that my aim (1801-1812), but a) the author then says "1810s", which would still encompass 1818, and b) US fashions were ever so slightly lagging compared to Europe due to the time for new ideas to travel.
So, the envelope designs didn't seem to be quite what I needed, but then I looked at the photographs of made-up versions, and the first image has almost exactly the neckline and sleeves of the Ginsburg dress.
Fig Leaf 222
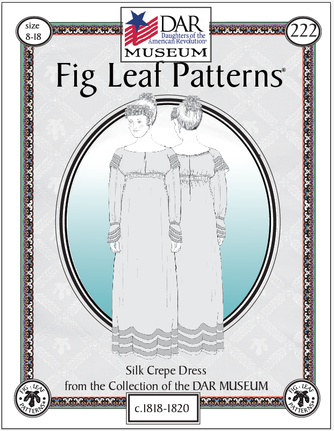
This pattern is specifically based on the DAR Museum dress, but I found it after I had bought another pattern. I would definitely like to buy and try this one later, should I find the need to make another Regency era dress!
~~
So what to do?
Sizing:
The Laughing Moon pattern cover sizes up to 56"/48"/58", whereas the S&S one only goes up to 48"/41"/50" AND requires a supplement to make the larger sizes.
Fig Leaf 222 goes up to 51"/42"/56".
Format:
Laughing Moon is paper only for this pattern.
S&S has both paper and PDF options available.
Fig Leaf seems to be paper only
Cost:
Laughing Moon is $18.00 plus postage or £23.99 (no postage) from Etsy
S&S in PDF is $9.95 for the base pattern, plus $2.95 for the large chest supplement, no postage, but printing out costs of course.
Fig Leaf is $23.00 plus postage.
In the end I bought the Laughing Moon pattern via Vena Cava on Etsy. Why? The bodice was closer to the later style ones I am hoping to recreate, even though the sleeves aren't quite right. I also figured that if I can't get the sleeves right, I can buy the PDF of the S&S one still, and Frankenstein them together...
Colours
The official descriptions of both dresses describe them as being Clarence Blue. But what is that, and where does its name come from?
With regards to the Queen herself, there are possible indications of the colour she liked. I wrote a separate post last week on Queen Adelaide and blue as this section was getting Rather Long!
Neither my Inspiration dresses nor the portraits of Queen Adelaide are categorical confirmation of precisely what was "Clarence blue". I feel that I have two possible directions I can take.
- Follow the colour that is on the garment(s) now
- Attempt to decide and re-create the garment in the shade I feel is closest to Clarence blue.
As I am intending to re-create an extant dress, I will be going in direction 1. The colour of the extant garments were what drew me to them initially, so in keeping with that, I plan to make my dress in a colouration similar to the shade they are now, 200 years after they were made. This may not be the original colour, nor may it be a true example of Clarence Blue, but I loved it from the start and that is what I will use.
Modern fabrics in Petrol Blue, Teals, and dark Turquoises seem to be the best representations of the colour I initially saw.
Fabrics
Both original dresses were in silk, suggesting evening wear. I am not planning to wear either in that way, so I am considering either a heavy cotton or a light wool (or wool mix).
Links/images to dream fabrics
Links/images to more realistic fabrics
No comments:
Post a Comment